In the stimulating battlefield desert map, although there is a point with a name and a surname, it is inefficient because the material is collected, and it is not seen by many players. That’s the cemetery! But as long as the players who are good at observing think a little, will find The cemetery is not so unbearable.
The site of the first graveyard is relatively located at the center of the map, so in many cases, our lap The pressure is not very great. Secondly, there are many resources such as large mines and happiness villages around the cemetery. As long as it is reasonable to determine the key points to collect,
it is difficult to obtain good materials and equipment. 123> .

Do not select the tombstone area when selecting the landing site. This is the real “123” “pit” of the cemetery. Because the materials in the tombstone area are mostly concentrated in separate small rooms, the collection is troublesome. There are also few high-level supplies, so we must first land in the southeastern part of the cemetery under the correct trade-offs. The materials here are relatively concentrated and the collection efficiency is much higher.
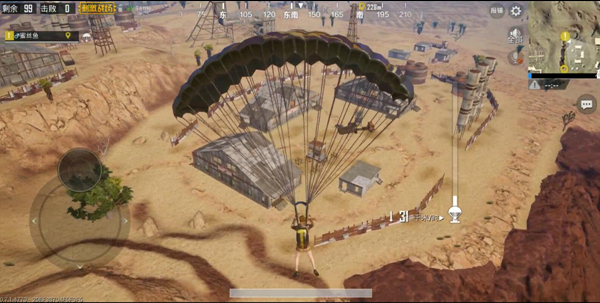
We have chosen a warehouse in the cemetery to land.
Because
The terrain is flat. It is very convenient to quickly collect material and at the same time, it is very convenient to transfer to large mines. Because the material in this area is relatively poor, we It is necessary to quickly collect key areas in multiple regions to achieve the effect of “change from quantity to quality”.
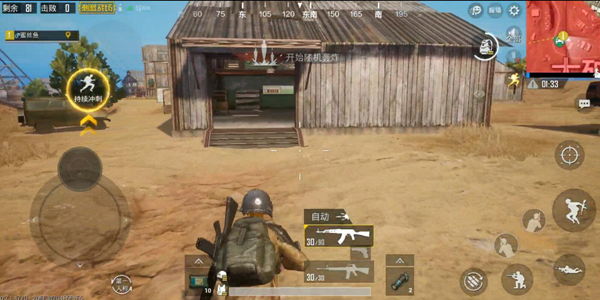
After collecting several warehouses in the cemetery, we only need to speed the maneuver to the big mine to continue collecting. It can be found that
is basically not meeting the enemy’s
because on the route At the same time as St. Martin and Picardon, most teams will not choose the cemetery for development. The point of large mines is very large, so we need to focus on the collection, all the small rooms do not need to enter, just search the warehouse, which can effectively improve efficiency .
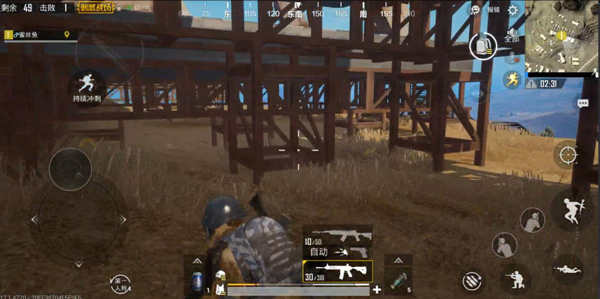
After collecting the large mines, we can immediately advance to the drilling platform on the mountain, because the terrain here is very complex, and the steel frame below the drilling platform can also well cover our whereabouts, so that if the shrinking circle is relatively smooth It’s completely easy to wait for a lap time here to make your rankings more forward.


In this game, the safe area is probably in the direction of Orange Blossom Town. At this time we can use the high peak of the Da Mine. With a view from the slope, it is easy to allow us to develop a path that avoids the enemy’s main forces. If possible, we can use our good geographical location to launch sneak attacks on some of the enemies that landed.


After turning over the big mine, there are many unnamed houses. The terrain is very advantageous. If there are enemies coming from behind to attack, we can easily hear the footsteps of the enemy or The voice of the vehicle, and the vision in front of us is sweeping, and it is easy to determine the movement of the enemy.
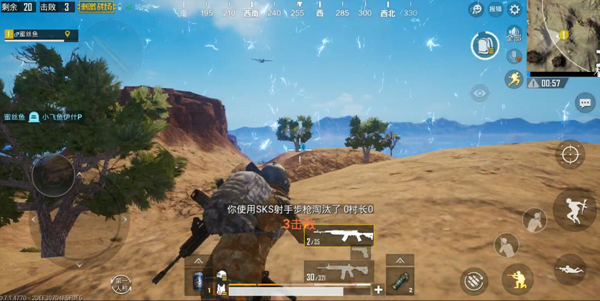
At the same time, relying on the complex terrain above and below, hidden points are also a very good choice. Here we find a position immediately after entering the safe area to hide, and sure enough we are staring at the enemies from the rear circle. Here we have to rely on the slope, do not have to worry about being interrogated, so decisively chose to kill
2 run poisoned enemies. After cleaning up the enemies behind us, we directly entered the final round with extremely low battle losses.
Although the cemetery is a very poor point, it has a very large number of resources nearby. If we can achieve goal-oriented collection, we can develop good equipment under the condition of ensuring our own safety. At the same time, we can also use the favorable terrain of the big mine to further expand our advantage and increase the probability of eating chicken.
.