Photo mode allows you to take immersive AR photographs with Foundables you’ve fully returned to the Registry and Foundables you encounter on the Map.
Taking AR Photos During an Encounter
To get started, you’ll need to grant camera permissions (if you haven’t done already), then enable AR mode for Encounters.1. Tap a Trace on the Map to start the Encounter. Foundables with at least one Fragment returned can have their photo taken during an Encounter. 2. Slowly move your camera in a sweeping motion over a flat, open surface (like the ground or a tabletop). Follow the instructions that appear on screen until the Foundable comes into view. 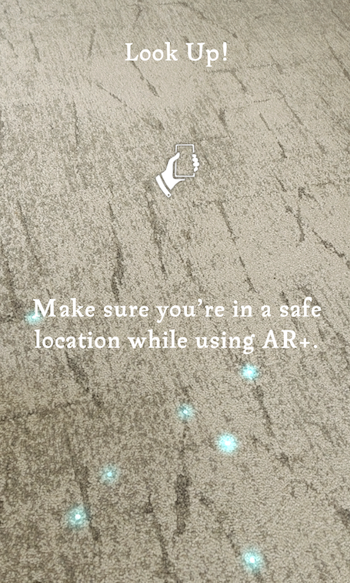 3. When the Foundable appears, tap the Camera button
  to enter Photo mode. 4. Move around to find the best angle for your shot. 5. Tap the Shutter button to snap a photo. 6. Once you’ve taken a photo, you can delete, save, or share the photo with friends. You can also add Filters, Frames, and Stickers.
- Add Filters to transform the appearance of your Portrait, like the coloring of the photo.
- Add Frames to surround your Portrait with an interesting border.
- Add Stickers to decorate your Portrait with wizarding world items. Press down on Stickers to place them anywhere on your Portrait. Pinch or zoom on Stickers to resize them.
Note: You must enable external storage permission to store photos to your device.
Taking AR Photos with Foundables from your Registry
1. Head over to the Registry and tap the Camera toggle at the top left corner of Exploration pages to filter out which Foundables are eligible for Photo Mode.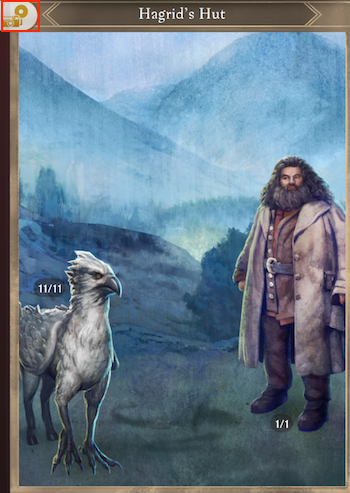 Note: You will not lose the ability to take AR Photos of Foundables from Registry Pages you Prestige.2. Tap the Foundable you want to photograph. 3. If you are using AR+, slowly move your camera in a sweeping motion over a flat, open surface (like the ground or a tabletop). A preview area with a lustrous effect will appear once your device has detected your environment. If you are not using AR+, the Foundable will already be placed in the scene for you.4. Tap the preview area to place the Foundable in a suitable position.5. Move around the area to find the best angles for your shot.6. Pinch and zoom with your fingers to adjust the size of the Foundable.7. Tap and drag to move the Foundable around the scene.8. Once you’re ready, tap the Shutter button to snap a photo.9. Tap the Download button to save the photo on your device.
Sharing
You can share your photos to social media or other messaging apps. Tap the Share button to open your sharing options. Your device will populate external applications where you can send your photos.Note: The Share button is not available for child accounts.
_-_-_-_-_-_-_-_-_-_-_-_-_-_-_-_-_-_-
Harry Potter: Wizards Unite Game GUIDE
哈利波特:巫師聯盟